The efficiency of burpees doesn’t come from the visible effort, but from the oxygen debt (EPOC) they create, forcing your body to burn calories for hours after the session.
- They outperform running for rapid fat burning, especially during Canadian winters when training outside is impossible.
- The key isn’t speed but form: poor execution cancels out metabolic benefits and leads directly to injury.
Recommendation: Use them as a metabolic “finisher” at the end of your session to trigger a hormonal spike and maximize fat loss without risk.
Stop lying to yourself. Nobody likes burpees. The simple word evokes the metallic taste of effort in the mouth, the sound of the body hitting the floor, and that moment when breath becomes a luxury. It is a brutal, merciless exercise that puts you face to face with your limits. You’ve been sold on running, stationary bikes, ellipticals… comfortable solutions to soothe your conscience. But you are here because you are in a hurry, you want results, not excuses. You are looking for raw efficiency, the ultimate weapon to incinerate calories in record time without any equipment.
The problem is that most advice on burpees consists of platitudes. “It’s a full-body exercise,” “it works your cardio.” Obviously. But that doesn’t tell you why this seemingly simple sequence is a metabolic furnace. The truth lies elsewhere. It’s not found in the movement itself, but in the hormonal and energetic chaos it triggers. The efficiency of burpees lies in their ability to create an oxygen debt so massive that your body has no choice but to continue burning calories for hours to recover from it.
This article isn’t here to make you “love” burpees. It’s here to teach you how to master them. We are going to dissect the mechanics of this brutal efficiency. We will see how to trigger this “afterburn effect” in every session, how to adapt the movement for apartment living in Canada without starting a neighborhood war, and how to strategically integrate it into your routine for maximalist results. Forget the hatred, focus on the weapon. It’s time to turn every repetition into a high-yield metabolic investment.
To understand how to turn this dreaded exercise into your best ally, we will explore every facet of its efficiency. This guide is structured to give you direct answers and concrete strategies, from the science of fat burning to practical application in your daily life.
Summary: The Secrets of Burpees’ Metabolic Efficiency
- Why does your body keep burning calories 2 hours after a burpee session?
- How to do no-impact burpees if you have neighbors downstairs?
- Burpees or running: which one to choose for weight loss in 20 minutes?
- The mistake of sacrificing form for speed that leads to back injury
- In what order should you place burpees so you don’t vomit your lunch?
- How to create an effective “gym corner” in less than 4 m²?
- Walking or static lunges: which version burns the most calories?
- Cold shower or ice bath: which method truly boosts your immunity this winter?
Why does your body keep burning calories 2 hours after a burpee session?
The answer is simple and brutal: you are creating a debt. Not a financial debt, but an oxygen debt. This phenomenon, known as Excess Post-Exercise Oxygen Consumption (EPOC) or the “afterburn effect,” is the true secret behind the efficiency of burpees. During intense effort, your body consumes oxygen at a rate your lungs cannot sustain. You enter anaerobic metabolism. Once the session is over, your body must “repay” this debt. It has to work hard to restore oxygen levels, regulate temperature, eliminate lactic acid, and repair muscle micro-tears. This entire internal process requires a massive amount of energy.
It is this controlled metabolic chaos that makes the difference. Your body doesn’t stop working when you stop moving. It enters a phase of prolonged caloric combustion. According to recent research on the afterburn effect, this state can lead to 10 to 25% additional calories burned up to 24 hours after exercise. A burpee is therefore not just a simple movement; it’s a switch that puts your metabolism into overdrive for hours.
The following table clearly illustrates that the bulk of the work happens in the shadows, once you have caught your breath. The effort you put in for 15 minutes is only the ignition.
| Phase | Calories Burned (70kg) | Duration |
|---|---|---|
| During 15 min of burpees | 131 calories | 15 minutes |
| Post-exercise EPOC effect | 75-100 calories | 12 hours |
| Total | 206-231 calories | 12h15 |
How to do no-impact burpees if you have neighbors downstairs?
Living in a condo or an apartment in Canada shouldn’t be an excuse. A complaint from the neighbor below about noise isn’t inevitable; it’s a technical challenge to overcome. The impact of the jump and the plank position can be almost entirely eliminated with movement engineering and minimal equipment. The solution isn’t to stop, but to adapt. You need to transform the explosive burpee into a stealth version—just as metabolically effective but silent.
The first lever is technique. Forget the jump. Your goal is to maintain muscle tension and heart rate without the impacts. Here are three variations designed for discretion:
- Step-Back Burpee: Instead of jumping back into a plank, step one leg back at a time. Return to a standing position the same way. Ground impact is reduced by nearly 80%, but the core engagement remains total.
- Navy Seal Burpee: This version removes the final vertical jump. You finish the movement by simply standing up, arms reaching toward the sky, without your feet leaving the ground. Cardiovascular intensity is maintained through the speed of the sequence.
- Half Burpee: This is the most streamlined version. No push-up, no jump. You fluidly transition from standing to plank, then back to standing. Perfect for circuits where the goal is to keep the heart rate high without a rest phase.
The second lever is your environment. Investing in a good exercise mat isn’t a luxury; it’s a strategy. High-density models are designed to absorb shocks and vibrations. In fact, according to technical specifications,mats 6mm to 20mm thick reduce noise transmission by up to 70%. This is the difference between a neighbor banging on the ceiling and total peace.
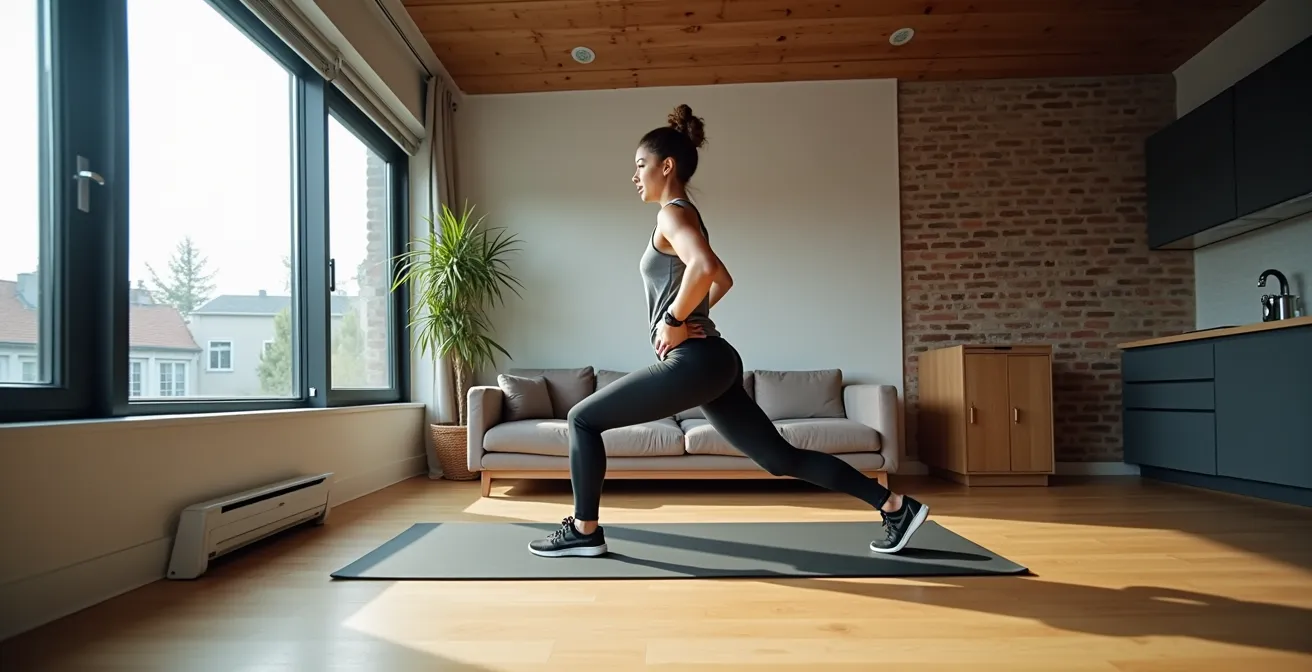
As this demonstration shows, the movement becomes controlled and fluid. The objective is no longer explosion, but continuous tension. It’s a different, more strategic approach, but one that allows you to trigger EPOC without compromising your relationship with your neighbors.
Burpees or running: which one to choose for weight loss in 20 minutes?
Let’s stop the sterile debate. If you only have 20 minutes, there’s no question. For rapid weight loss, the burpee crushes running on almost every level, especially in the Canadian context. Running is an excellent endurance exercise, but in terms of raw efficiency per minute, it cannot compete with the metabolic chaos of an intense burpee session. This isn’t about disparaging running, but about choosing the right weapon for the right fight. The fight here is the calorie. And it must be won quickly.
The first factor is caloric density. A burpee is a full-body movement that engages the legs, core, chest, shoulders, and arms in a single repetition. Running, on the other hand, primarily targets the lower body. This difference in muscle engagement translates into higher energy expenditure and, more importantly, a much more significant triggering of EPOC. Your body must repair and reoxygenate a larger muscle mass, which extends fat burning long after your session ends.
The second factor is practicality, a major issue during long Canadian winters. While running requires braving the cold, ice, and snow—or paying for a gym membership—burpees can be done in 4 m² of your living room. Zero equipment, zero excuses. A comparative analysis of energy expenditure research highlights this point strikingly:
An intense 20-minute session of burpees can burn as many calories as 30-40 minutes of snowshoeing or skating.
– Comparative Analysis, Energy Expenditure Research
The table below summarizes the verdict. For a busy person, the choice is obvious.
| Criterion | Burpees (20 min) | Running (20 min) |
|---|---|---|
| Calories burned | 200-280 cal | 180-240 cal |
| Equipment required | 0 (mat optional) | $150+ (shoes, winter technical clothing) |
| Practicable in Canadian winter | ✓ Indoors | ✗ Risk of ice, expensive equipment |
| EPOC Effect | Very high | Moderate |
The mistake of sacrificing form for speed that leads to back injury
This is the number one mistake. Ego takes over. You want to do more reps than the YouTube video; you want to beat your record. So you speed up. Your back rounds like a shrimp during the descent, your hips sag in the plank position, and you use the momentum of a ballistic worm to get back up. Congratulations, you’ve just turned the most effective exercise into a shortcut to the chiropractor’s office. Sacrificing form for speed is a betrayal of the goal. Not only do you cancel out the metabolic benefits, but you also put disastrous pressure on your lumbar spine.
A well-executed burpee is a demonstration of total core stability. The trunk must remain as straight as an iron bar from the descent to the plank. It is this tension that protects your spine and forces your deep muscles to work. When you let your hips sag, your body weight is transferred directly onto the lumbar vertebrae. Repeat this movement dozens of times, and injury is no longer a possibility; it’s a certainty. Raw efficiency doesn’t come from the number of sloppy reps, but from the quality of each muscle contraction.
The solution isn’t to slow down excessively, but to invest in prevention. A 5-minute routine before each session can “wake up” the stabilizing muscles and force you to maintain perfect form, even when fatigued. This is what I call movement engineering. Before building a skyscraper, you ensure the foundations are solid. Here is your plan for bulletproof foundations.
Your Pre-Burpee Action Plan: 5 Minutes to Shield Your Back
- Posterior Chain Activation: 10 repetitions of Bird-Dog per side. Focus on hip-shoulder-head alignment to strengthen muscles along the spine.
- Deep Core Wake-up: 15 repetitions of Dead Bug. Your lower back must stay glued to the floor to activate the transverse abdominis.
- Glute Ignition: 20 repetitions of Glute Bridges. Active glutes prevent the lower back from compensating.
- Global Stability Prep: 30 seconds of perfect Plank. Contract everything: abs, glutes, thighs. This is the position you must hold during the burpee.
- Spinal Mobilization: 10 cycles of Cat-Cow. To prepare your spine for movement without stressing it.
In what order should you place burpees so you don’t vomit your lunch?
This question isn’t a joke; it’s a crucial point of exercise physiology. A burpee is so demanding on the cardiovascular and digestive systems that bad timing can ruin your session, or even your afternoon. Placing them at the wrong time is a recipe for nausea. Placing them strategically makes them the peak of your workout. It’s all about context and objective. Don’t just endure burpees; use them with intelligence.
First, the basic rule regarding food: common sense. Doing burpees after a heavy meal is an invitation to disaster. Blood, needed for digestion, is abruptly redirected to the muscles, creating an internal conflict that often ends poorly. The recommendation based on digestive physiology principles is clear: wait at least 2 hours after a full meal, and at least 45 minutes after a light snack like a piece of fruit or a protein bar. Don’t negotiate with your digestive system; you will lose.
Next, the placement within the session. The “when” depends on the “why.” Are you looking to warm up, build endurance, or push your metabolism to its absolute limit? Each goal has an optimal placement.
This visual clearly shows that each phase of the workout has its tool. The burpee is the tool for the highest intensity. The following table gives you a clear decision framework to structure your sessions without risking a technical K.O.
| Goal | Placement | Suggested Format |
|---|---|---|
| Metabolic Finisher | End of session | 3×10 with 30s rest |
| General Conditioning | In a circuit (with other exercises) | Tabata format (20s/10s) or 45s/15s |
| Progressive Challenge | EMOM format (Every Minute On the Minute) | 5 burpees at the start of every minute for 10-15 minutes |
| Dynamic Warm-up | Start of session (light version) | 2×5 half-burpees without push-up or jump |
How to create an effective “gym corner” in less than 4 m²?
The space argument is another excuse we are going to demolish. You don’t need a dedicated room to build a war machine. A corner of your living room, bedroom, or even basement is enough, provided you are strategic. 4 m² (2m x 2m) is a luxury surface area for an effective HIIT workout. It’s not about accumulating gear, but selecting a versatile and compact arsenal. Your “gym corner” should be a space of efficiency, not a museum of equipment gathering dust.
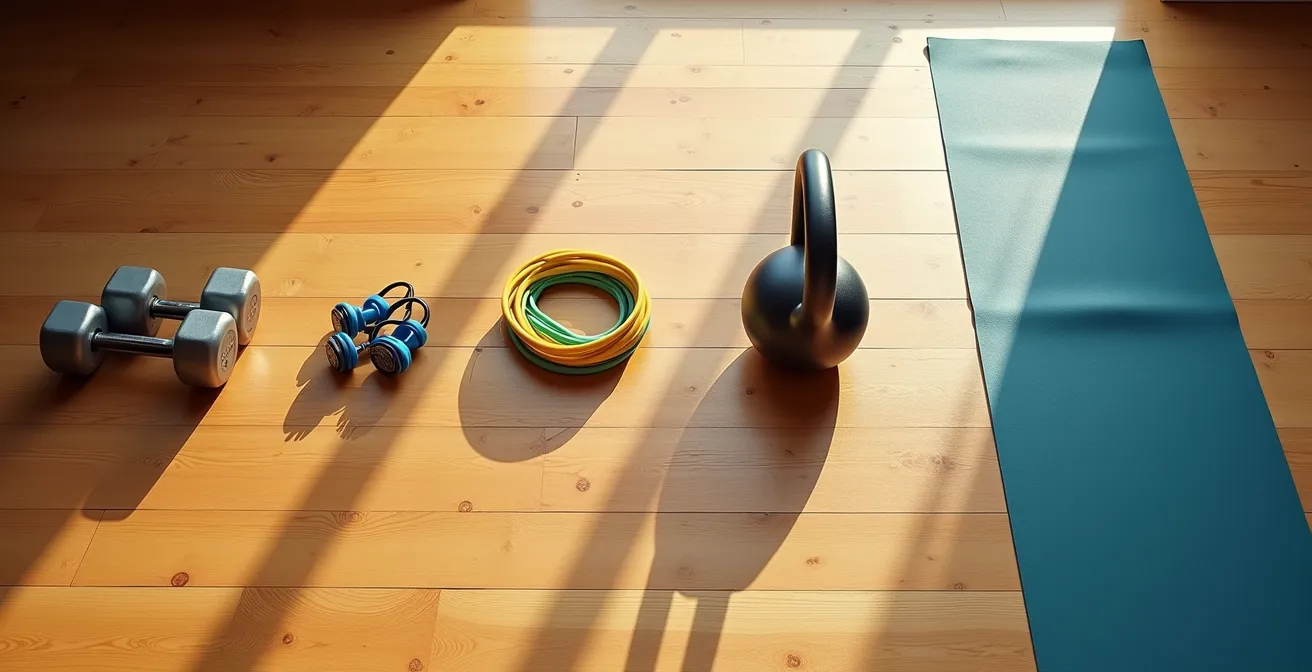
Here is the essential equipment for a minimalist space, designed for the Canadian reality:
- Foldable Mat (minimum 180x60cm): This is your base. It defines your work zone, protects your joints and your floor. Quality options are available at retailers like Fitness Avenue.
- Resistance Bands with Door Anchor: The most versatile and compact tool. It allows you to work on pulls (back, biceps), pushes, and leg exercises with progressive resistance. Storage: a drawer.
- Adjustable Kettlebell (5-20kg): A single piece of equipment to replace a row of dumbbells. Ideal for swings, goblet squats, and global strengthening.
- Wall Mirror (120x40cm): Non-negotiable for correcting your form in real-time. Wall-mounted, it takes up zero floor space.
- Wall Mount: To hang your bands and mat after the session. A clear floor is a clear mind.
Case Study: Adapting to Low Ceilings in Canadian Basements
A frequent challenge in Canadian homes is low basement ceilings, often at 2.1m (7 feet) or less. The vertical jump of the classic burpee becomes impossible. The solution is adaptation. You should favor the “Sprawl”—a variation where you quickly drop into a plank position without a jump phase—or the “Broad Jump Burpee”, where the vertical jump is replaced by a long jump. For these environments, a floor mat of at least 6mm is crucial, not only for cushioning but also for thermal insulation against the cold concrete floor, a detail that changes everything in the middle of January.
Walking or static lunges: which version burns the most calories?
The question is direct, and so is the answer: walking lunges. Without a doubt. Static lunges (on the spot) are an excellent exercise for isolating and strengthening the quadriceps and glutes. It’s a muscle-building movement. Walking lunges, however, are a metabolic conditioning movement. The difference is fundamental. The simple act of having to move forward, stabilize with each step, and propel your body forward transforms the exercise into a calorie devourer.
The dynamic nature of walking lunges engages many more stabilizing muscles in the core and hips. Every step is a mini-imbalance that your body must control. Additionally, constant movement maintains a higher heart rate than the static version. Studies on dynamic compound exercises show that this variation creates a much higher metabolic demand, which translates to greater caloric expenditure during and after the effort. For someone looking to maximize every minute of their workout, the choice is clear.
But the real magic happens when you combine this knowledge with the power of burpees. Instead of seeing them as separate exercises, see them as two parts of the same metabolic assault.
Case Study: The “Burpee-Lunge” Superset for a Metabolic Furnace
A particularly formidable HIIT strategy consists of combining these two movements in a superset. The principle is simple: perform the two exercises back-to-back without rest. For example, a circuit of 10 burpees immediately followed by 20 walking lunges (10 per leg), repeated 4 times with 60 seconds of rest between each round. This combination is diabolical because it alternates a global push-stability movement (burpee) with a leg-dominant movement (lunges). This allows for partial recovery of one muscle group while the other works at full intensity, all while keeping the cardiovascular system in the red. Such a 15-minute circuit can burn between 120 and 150 calories and leave your metabolism elevated for hours.
Key Takeaways
- The true gain from burpees isn’t what you burn during the exercise, but the “afterburn” effect (EPOC) that forces your body to consume calories hours later.
- Quality of execution trumps quantity. A straight back and solid core engagement are non-negotiable for maximizing benefits and avoiding injury.
- Simple adaptations (step-back, sprawl) and a good mat make burpees perfectly achievable and silent, even in a Canadian apartment or basement.
Cold shower or ice bath: which method truly boosts your immunity this winter?
After setting your metabolism on fire with burpees, the question of recovery becomes central. Here too, you must be strategic. Inspired by traditions like the Canadian “Polar Bear Plunge,” cold exposure is a powerful method for accelerating recovery, reducing inflammation, and, according to some studies, strengthening the immune system. But between a cold shower and an ice bath, which should you choose for realistic and effective daily use? For a high-level athlete, the ice bath is a precision tool. For you, the cold shower is a smarter and safer daily weapon.
The ice bath requires cumbersome logistics (a bathtub, kilos of ice, time) and presents risks if managed poorly. The cold shower, however, is instantly accessible. Its effectiveness lies in progressivity and regularity. It causes a slight thermal shock that forces your body to adapt, improving blood circulation and reducing post-workout soreness.
Case Study: The Canadian Tradition of the Polar Bear Plunge Adapted to Daily Life
Dr. Michael Dakkak, an expert in exercise physiology, compares post-HIIT recovery to cooling down a car engine after a race. For Canadians used to winter challenges, the idea of cold is familiar. However, he recommends a more pragmatic approach than the ice bath: a 2-minute progressive cold shower after the burpee session. The idea isn’t to suffer, but to control. He advises starting with just 30 seconds of cold water at the end of your usual shower, then gradually increasing the duration over several weeks until reaching a full 2 to 3 minutes. It’s a sustainable and safe method to benefit from the advantages of cold.
Here is a simple protocol to integrate the cold shower into your post-burpee routine and turn the recovery phase into an active part of your conditioning.
- Weeks 1-2: Finish your hot shower with 30 seconds of lukewarm-cold water (around 20°C). Breathe calmly.
- Weeks 3-4: Move to 45 seconds of distinctly cold water (around 15°C).
- Weeks 5-6: Hold for 60 seconds under the coldest water your tap can provide (often 10-12°C).
- Week 7 and beyond: Aim for 90 to 120 seconds, focusing on slow, deep breathing to control the initial shock.
- Always: Warm up gradually afterward (towel, warm clothes) and drink a warm beverage.
You now have the keys. You understand the mechanics, the strategy, and the adaptations. The burpee is no longer an enemy to be endured, but a weapon to be mastered. Your body is an engine. You have learned how to push it into the red, and then how to cool it down effectively. All that’s left is to take action. Integrate these principles one by one and observe the transformation. So, when do we start?