The choice between watercolor and acrylic is not a technical question, but a choice of creative dialogue that will soothe your fear of the blank page.
- Watercolor invites you to let go by accepting the unpredictable movements of water.
- Acrylic offers a forgiving construction where every “mistake” can be covered and transformed.
Recommendation: Start with the medium that intimidates you the least and sparks your curiosity, not the one that promises the most “beautiful” result.
You feel that small spark, that urge to create with colors, but an inner voice immediately whispers: “I don’t know how to draw,” “It’s going to be complicated,” “I’m going to ruin everything.” This fear of the blank page is a universal feeling, especially when we associate painting with performance or innate talent. We imagine it takes years of classes, overpriced materials, and technical mastery worthy of the great masters just to have the right to dip a brush into a jar of color.
But what if the true key wasn’t talent, but the pleasure of the process? What if the goal wasn’t to create a masterpiece, but to give yourself a moment of relaxation, a genuine dialogue with the medium? The question then is no longer “How do I paint well?” but “Which creative conversation is right for me?”. Watercolor and acrylic are two very different conversationalists. One, watercolor, offers a fluid letting go, a dance with the unexpected. The other, acrylic, offers pigmentary forgiveness, a safe space where you can build, deconstruct, and reinvent yourself.
This article is not a drawing lesson. It is an invitation to de-complex your approach to painting. Together, we will explore how these two mediums respond differently to your beginner apprehensions. You will discover which painting “personality” will allow you to transform fear into pleasure, and the white of the page into a colorful playground, right here in Canada.
To guide you through this exploration, we will address the very concrete questions every beginner asks, always focusing on relaxation and pleasure rather than technical performance.
Table of Contents: Choosing Your Paint for Creative Relaxation
- Why does mixing all your colors always result in a dirty brown?
- How to gauge water in watercolor to avoid the “muddy puddle” effect?
- Synthetic or natural bristles: which to buy for starting on a small budget?
- The mistake of trying to paint a realistic photo on your first try
- When to paint during the week: creating a 20-minute ritual to progress
- Why is it so difficult to move from 2D drawing to 3D sculpture?
- Why your desk lamp isn’t enough to trick your brain in winter?
- Clay or wood: which material to choose for starting sculpture without a professional studio?
Why does mixing all your colors always result in a dirty brown?
It’s the first great fear, the one we all experienced as children: the joyful mixing of all the colors on the palette that inevitably turns into a muddy, indefinable hue. This fear of “dirty brown” is the perfect metaphor for beginner anxiety: the fear that our best creative intentions will lead to a disappointing result. But this phenomenon isn’t a failure—it’s science! Brown is simply the result of mixing the three primary colors (red, yellow, blue). When you mix everything without control, you get a kind of greenish-brown because the proportions are random.
As an art therapist, the key is not to avoid brown, but to tame it. Instead of suffering through it, let’s learn to create it intentionally to obtain rich, natural shades. According to color experts, as explained by the Quebec creative portal LiliFlore in its practical guide, making brown on purpose allows you to master your palette. Here are a few simple recipes to transform “mud” into “burnt sienna”:
- Orange + Black: The most direct method for a warm brown. By adding a touch of white, you’ll get a soft beige.
- Orange + Blue: Here, we use the complementary color. Blue “desaturates” the orange to darken it and create a deep, vibrant brown.
- Orange + Purple: This combination yields warmer browns, leaning towards burgundy, perfect for rich shadows.
Understanding this is already a giant leap forward. You are no longer at the mercy of the color; you are in dialogue with it. Opaque acrylic is perfect for experimenting with these mixes directly on the palette or canvas, because you can always paint over it if you don’t like the result.
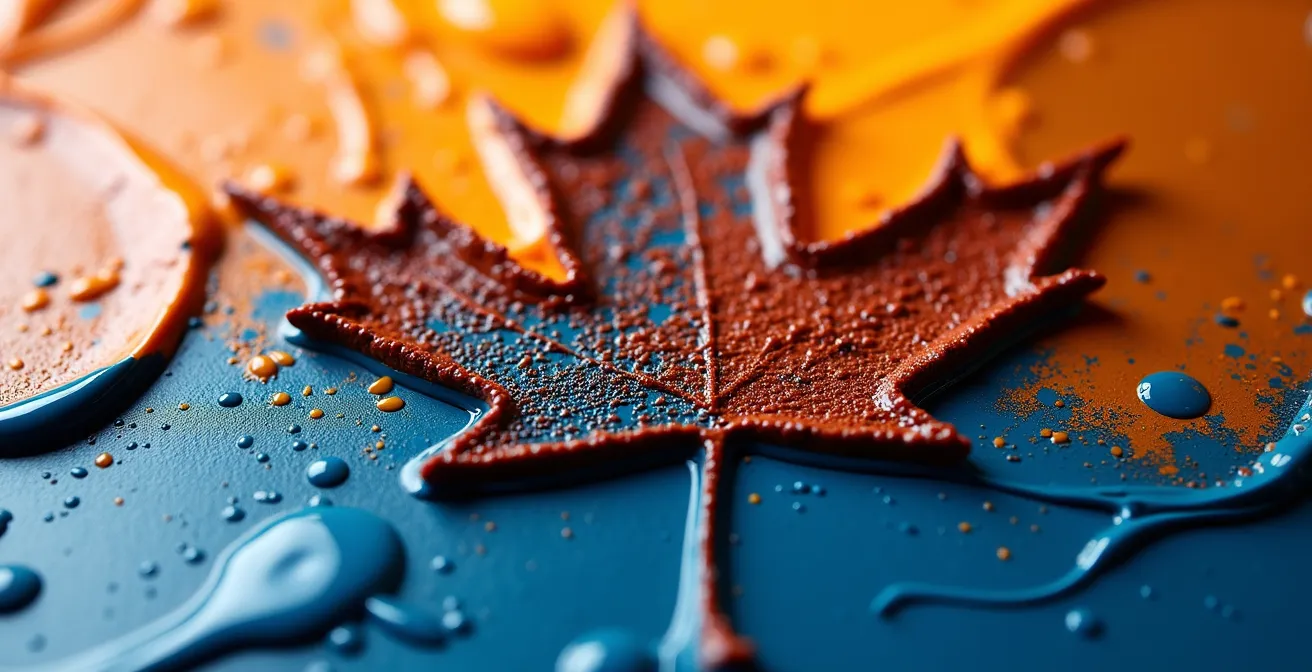
As this palette shows, brown is not a single color, but an infinite family of nuances. By starting to master these simple mixes, you transform a fear into a skill, and the blank page becomes a playground for exploring the colors of Canadian nature, from the ochres of the Rockies to the rich browns of the Laurentian forests.
How to gauge water in watercolor to avoid the “muddy puddle” effect?
If acrylic raises the question of pigment mixing, watercolor raises the question of water dosage. This is where the heart of fluid letting go resides. The anxiety of the “muddy puddle” in watercolor happens when you deposit too much water, the pigments float out of control, and the colors, instead of merging delicately, blend into a dull pool. For the beginner seeking relaxation, this lack of control can be frustrating. Yet, that is precisely where the magic lies: learning to collaborate with water rather than trying to dominate it.
It’s all about the water-to-pigment ratio. The less you control, the more you let the water do its diffusion work. It’s a meditation exercise in itself. Instead of aiming for a specific result, we observe what happens. To help you understand this dialogue, here is a simple guide to the main dosage techniques.
| Technique | Water/Pigment Ratio | Resulting Effect | Required Level |
|---|---|---|---|
| Wet-on-wet | 80% water | Soft fusion | Intermediate |
| Wet-on-dry | 50% water | Precise control | Beginner |
| Thirsty brush | 20% water | Dry texture | Beginner |
The wet-on-dry technique, as noted in this analysis of basic techniques, is your best ally for starting out. You apply wet paint (50% water) onto dry paper. This gives you good control over the edges, which is reassuring. The thirsty brush (or dry technique) is also fantastic for beginners: you use very little water, which is ideal for adding details and textures (like birch bark) without the risk of everything bleeding together. Wet-on-wet, while beautiful for skies and blurry backgrounds, requires more practice. Save it for later, when you’re more comfortable with how water behaves. Accepting that watercolor is a dance where water sometimes leads is the key to transforming frustration into fascination.
Synthetic or natural bristles: which to buy for starting on a small budget?
The choice of materials can be another source of paralysis. You walk into an art store like DeSerres and are overwhelmed by walls of brushes in all shapes and sizes. The good news? To get started and relax, you only need a few versatile brushes, and most importantly, they don’t have to be expensive! The “synthetic or natural” question is quickly answered for a beginner on a budget: go for Taklon-type synthetic bristles without hesitation.
Natural hair brushes (like squirrel hair) are wonderful for watercolor because they hold a lot of water, but they are costly and harder to maintain. For acrylic, they are actually discouraged because the paint, which contains plastic, quickly damages their delicate fibers. Modern synthetic brushes are an economical and high-performing alternative. They have more “snap,” are easier to clean, and are perfectly suited to the consistency of acrylic. As the blog of Canadian retailer DeSerres points out, synthetic brushes are a preferred choice for acrylic due to their durability. A simple basic kit is more than enough.
To keep from getting lost, here is an ultra-simple buying guide to build your first set without breaking the bank:
- Prioritize synthetics: This is the golden rule for a controlled budget and great versatility.
- Start with 3 sizes: A small round brush (size 4) for details, a medium flat brush (size 8) for washes/fills, and a larger brush (“spalter” or hake) for backgrounds.
- Short handles: They offer better control, which is reassuring when you’re starting out.
- Paper: For acrylic, thick paper (300g/m²) or a small canvas board is enough. For watercolor, specific paper (300g/m², fine grain) is essential so it doesn’t warp.
- Maintenance is key: Clean your brushes with lukewarm soapy water immediately after using acrylic. For watercolor, a simple rinse in clear water is sufficient.
The idea is to remove barriers. With 3 brushes and a few primary colors, you already have everything you need to begin your creative dialogue. Everything else is just a bonus.
The mistake of trying to paint a realistic photo on your first try
Here is the most formidable mental obstacle: the tyranny of realism. You find a magnificent photo of a lake in Mauricie National Park, and you want to reproduce it exactly. This is the shortest path to frustration. Painting, especially for relaxation, is not a printer. It is an interpretation, a translation of your emotions. Wanting to be realistic from the start means comparing yourself to an inaccessible ideal and denying your own sensitivity.
Keep in mind that there isn’t just one way to do things, but it’s good to know them. With practice, you will find yours—your style and your artistic preferences.
– Aquarelle Creative, Guide for learning watercolor
This quote is liberating. The goal is not to copy reality, but to be inspired by it to create your own language. Instead of painting “a tree,” try painting “the feeling of a tree”: its verticality, the roughness of its bark, the quivering of its leaves. This frees you from the constraint of exact form. Acrylic, with its opacity, is great for this: you can start with masses of color that represent the general mood (a blue sky, a green forest) and add details on top, layer by layer. This is what we call pigmentary forgiveness: if you don’t like a shape, wait for it to dry and paint right over it!
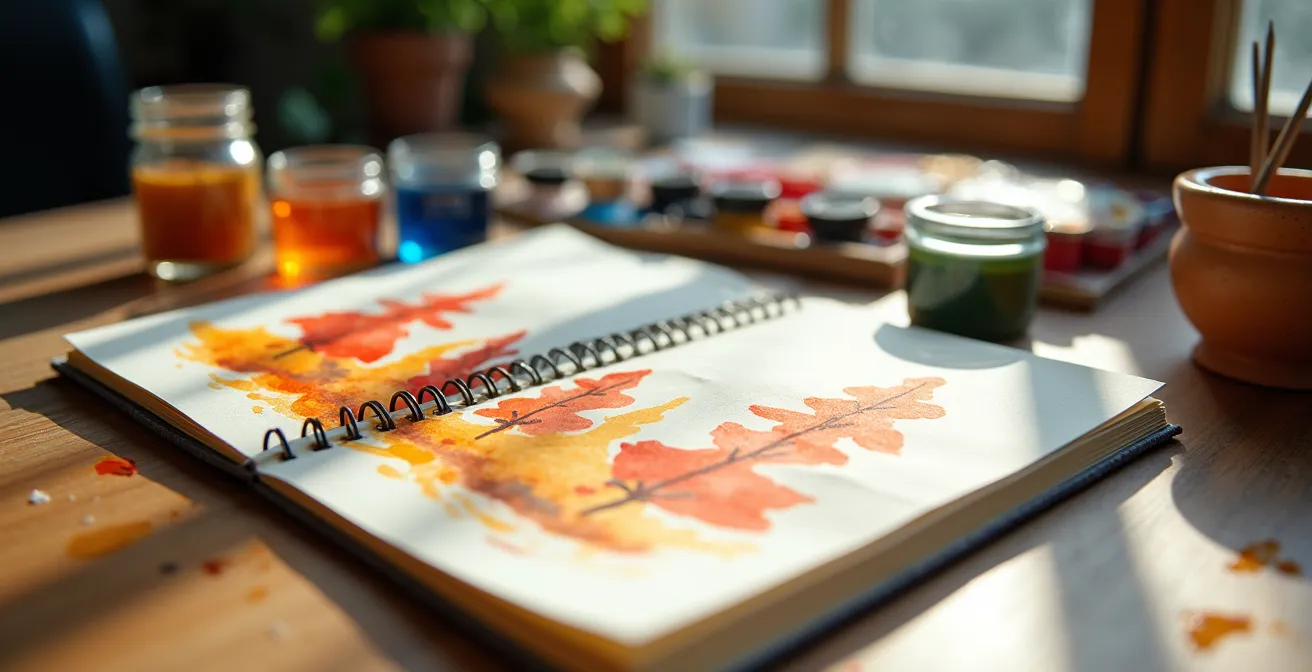
Look at this sketch. It’s not a photo; it’s an impression. A few splashes of color suggest an autumn landscape. It’s simple, expressive, and, above all, accessible. For your first paintings, choose simple subjects that forgive imprecision: silhouettes of trees against the light (all in black, very easy!), abstract geometric shapes, or simply color explorations on the page. Take inspiration from the color palette of a photo, not its exact composition. The goal is to play, not to perform.
When to paint during the week: creating a 20-minute ritual to progress
The final big question isn’t “what” or “how,” but “when.” Often, we wait until we have “the time” or “the inspiration,” which usually means we never paint. The key to relaxation and progress is not duration, but regularity. Creating a colorful ritual, even for just 20 minutes, is infinitely more beneficial than a 3-hour session once a month. This regularity anchors the practice in your daily life and transforms it into a moment of self-care, an appointment with yourself.
Art therapy demonstrates that even short creative sessions have a measurable impact on well-being. For example, a 2024 Canadian study on art therapy showed that nearly 96% of patients report feelings of relaxation after a session. You don’t need to wait for hours to feel the benefits. Twenty minutes are enough to disconnect from daily stress and reconnect with your senses. The question isn’t “Do I have time to learn to paint?” but “Can I grant myself 20 minutes of calm today?”.
The biggest obstacle to a ritual is friction. If you have to pull out all your gear every time, you won’t do it. The trick is to make starting as simple as possible.
Your action plan for an easy painting ritual
- Choose a fixed time: In the morning with your coffee, in the evening to decompress… Link painting to an existing habit.
- Prepare the space the night before: Leave your sketchbook open, your brushes, and a glass of water ready. Zero friction, zero excuses.
- Create an ambiance: Associate this moment with a hot drink, a playlist of relaxing Canadian music (Feist, Patrick Watson…).
- Start by breathing: Take 5 deep breaths before touching the colors to signal to your brain that this is a moment of relaxation.
- Keep a visual journal: Use a small notebook. One page per session, with no goal other than leaving a colorful trace. This is your secret garden, free of judgment.
Why is it so difficult to move from 2D drawing to 3D sculpture?
This question about sculpture might seem off-topic, but it helps us understand a subtle nuance between watercolor and acrylic. Moving from drawing (2D) to sculpture (3D) is an intimidating leap because you suddenly have to think in terms of volume, structure, and hidden faces. It’s a complete paradigm shift. Painting, however, sits wonderfully between the two.
Watercolor stays very close to 2D. The pigment colors the surface of the paper, it penetrates it, but creates very little surface texture. It is a conversation about flatness and transparency. Acrylic, on the other hand, offers a fascinating bridge to volume. Applied in thick layers (a technique called “impasto”), it retains brushstrokes, creates textures, and reliefs. You can sculpt it with a palette knife. It is a form of micro-sculpture on your canvas.
For the beginner who fears the blank page, this tactile dimension of acrylic can be incredibly liberating. You are no longer just “drawing with color”; you are “building an image.” This constructive approach is often less intimidating than the total letting go of watercolor. Moving from the fear of the blank page (2D) to the joy of acrylic impasto (quasi-3D) is a much gentler step than jumping straight into sculpture.
Why your desk lamp isn’t enough to trick your brain in winter?
Light is to the painter what sound is to the musician. And, as this question about light therapy suggests, not all lights are created equal. A standard desk lamp emits a weak, yellow light that completely alters our perception of colors. This is why that lovely cerulean blue on your palette can suddenly look greenish on your canvas. This is a major source of confusion for the beginner.
During long Canadian winters, where natural light is scarce, this becomes a real challenge. Our brain isn’t fooled; it knows it’s missing the full-spectrum solar wavelengths. This is where painting becomes a form of personal light therapy. Instead of enduring the grayness outside, you can counter it by creating your own inner sun. It is an act of colorful resilience.
To do this, prioritize painting near a window during the day, even in overcast weather, to benefit from the most neutral light possible. But above all, consciously play with warm colors. Both acrylic and watercolor offer brilliant yellows, oranges, and reds that can literally warm a room and your mood. Choosing a warm color palette for an abstract painting on a snowy day isn’t trivial: it’s a way to regain control over your sensory environment and trick the winter blues for a moment.
Key Takeaways
- “Dirty brown” is not a failure, but the predictable result of mixing the three primary colors. Taming it is a key skill.
- Watercolor is a dialogue with water that teaches letting go, while opaque and covering acrylic offers a forgiving space to build and correct.
- A short but regular painting ritual (20 minutes) is much more effective for well-being and progress than a long occasional session.
Clay or wood: which material to choose for starting sculpture without a professional studio?
This final question, again about sculpture, offers us a perfect metaphor to conclude our journey. Choosing between clay and wood is choosing between two radically different creative dialogues. Clay is additive and malleable: you add material, you model, and you can always go back. Wood is subtractive: you remove material, and every cut is more final. Well, choosing between watercolor and acrylic is exactly the same thing.
Watercolor is your clay. It is a fluid, transparent medium. You work with water, guide the pigments, and layer light “washes.” It is a process where you collaborate with the medium, accepting its whims. It is the choice of letting go, of observation, and of spontaneity.
Acrylic is your wood. But a magical wood where you can add material back! It is a constructive medium. You lay down masses of color and define shapes. If an area doesn’t please you, you let it dry and cover it up. You “sculpt” your image through successive additions. It is the choice of construction, structure, and forgiveness, as the error is always reversible.
So, are you more clay or wood? Letting go or construction? There is no right or wrong answer. Some find the fluidity of watercolor meditative; others find it anxiety-inducing. Some love the control and texture of acrylic; others find it too “thick.” And no, you can’t really mix the two in a conventional way (acrylic repels water once dry) because their philosophies are opposite. Your mission is not to choose the “best” paint, but the one whose “dialogue” resonates most with your personality and your current need.
The biggest step is already taken: you have decided to give yourself this time. Now, listen to your intuition. Head to an art store, hold a tube of each in your hands, watch some videos. Choose the medium that calls to you, that piques your curiosity. Buy three primary colors, a brush, and a sheet of paper, and begin the conversation.